Kathy's Desk Plan
Build a Computer Desk, in One Weekend, with One Sheet of Plywood, For Under $100.00
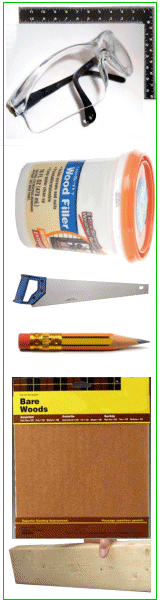
Shopping List, Tools you need, and a few notes to read
|
My Shopping List
Tools you Need You need two electric drills because one is for predrilling holes and one is for driving the screws in. You could switch the drill bits but that will slow you down. I predrilled all my screw holes. You need either a circular saw or handsaw to cut 2X4's & one cut of plywood. You'll need a jigsaw or hacksaw for cutting an opening in the back of the monitor shelf for wires to go through. |
Note #1. I figured that the dividers in the monitor shelf should be 14 1/4" long, based on the shelf being 15" wide, & the back piece of 1x6 being 3/4" thick. Somehow that didn't work. When I was assembling the monitor shelf, the divider pieces were too long, I had to take them back to the lumberyard & ask them to cut them down from 14 1/4" to 14". Hey, I'm not an experienced woodworker! They were very nice & did it for me pleasantly & quickly. I recommend an independent lumberyard for this reason. I doubt you could get that kind of cheerful cooperation at a big chain with this kind of request.
Note #2. Liquid nails, recommended to me by the guys who built my deck. Liquid nails is very strong. But what I like about it the most is that it sets up quickly. First you apply the glue, then you press the pieces together, squishing the glue around. Then you separate the pieces for about 1 or 2 minutes. Then you put the pieces back together, carefully, because after the glue was exposed to air, it grabs & sets quickly. That's why for most of my glueing I mark off with a pencil on both sides where I want the piece to be glued.
